Go to 👉 Gmail IMAP Settings
In the "IMAP access" section, select Enable IMAP.
Click Save Changes.
Go to 👉 Google Account Security Settings
Click "2-Step Verification" > "Get started".
Enter a mobile number to receive a verification code via text message.
Enter the verification code you received.
Click "Turn on" to enable 2-Step Verification.
Go to 👉 Google Account App Passwords settings
For "App name" type any name for it.
Click "Create" and note the 16-character App Password.
💁🏻♀️ Copy the App Password and keep it safe. After leaving this page, you won't be able to see it again. Now you can use this generated 16-character App Password to connect your account with Mails.ai.
Login to Mails.ai and go to 👉 'Mailbox Settings'
Click 'Add Mailbox,' select 'Gmail,' and input the mailbox information:
Sender Name: This is how your name will appear in the emails you send.
Daily Send Limit: This is the maximum number of campaign emails you plan to send daily from this account.
Email: This is the Gmail or Google Workspace email you're linking to Mails.ai.
App Password: Paste here the 16-character app password you just generated in your Google account settings.
Click on 'Save'.

Navigate to 'Warmup' in Mails.ai.
To initiate mailbox warmup for your newly connected email account, locate the corresponding toggle switch and click to activate it.
Go to 'Campaigns' page and click '+ New Campaign'.
Upload your lead list in CSV format and click 'Verify Emails' to verify the emails uploaded. Allow some time (minutes to hours, depending on the list size) for the system to verify all email addresses.
Delete all 🔴 Invalid and 🟡 Unknown emails. Only send to 🟢 Valid emails.
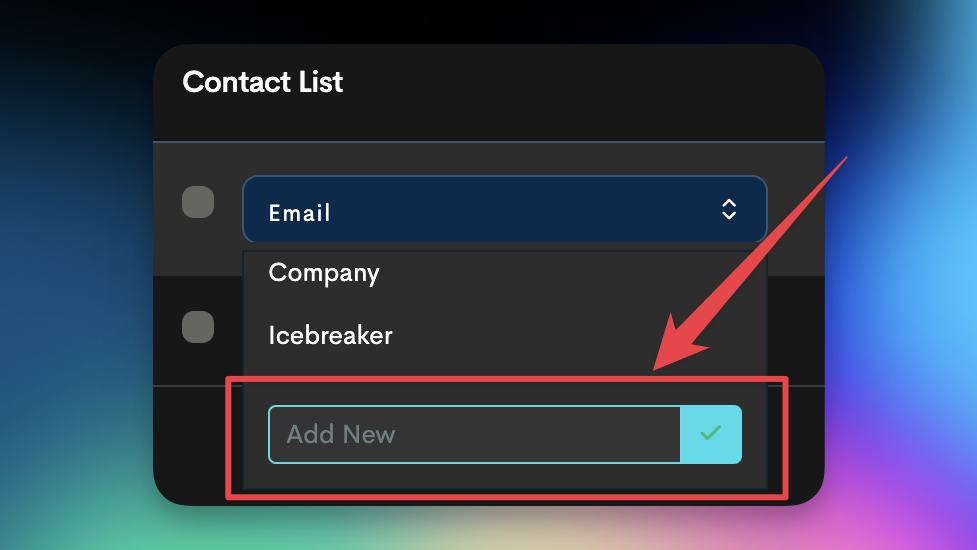
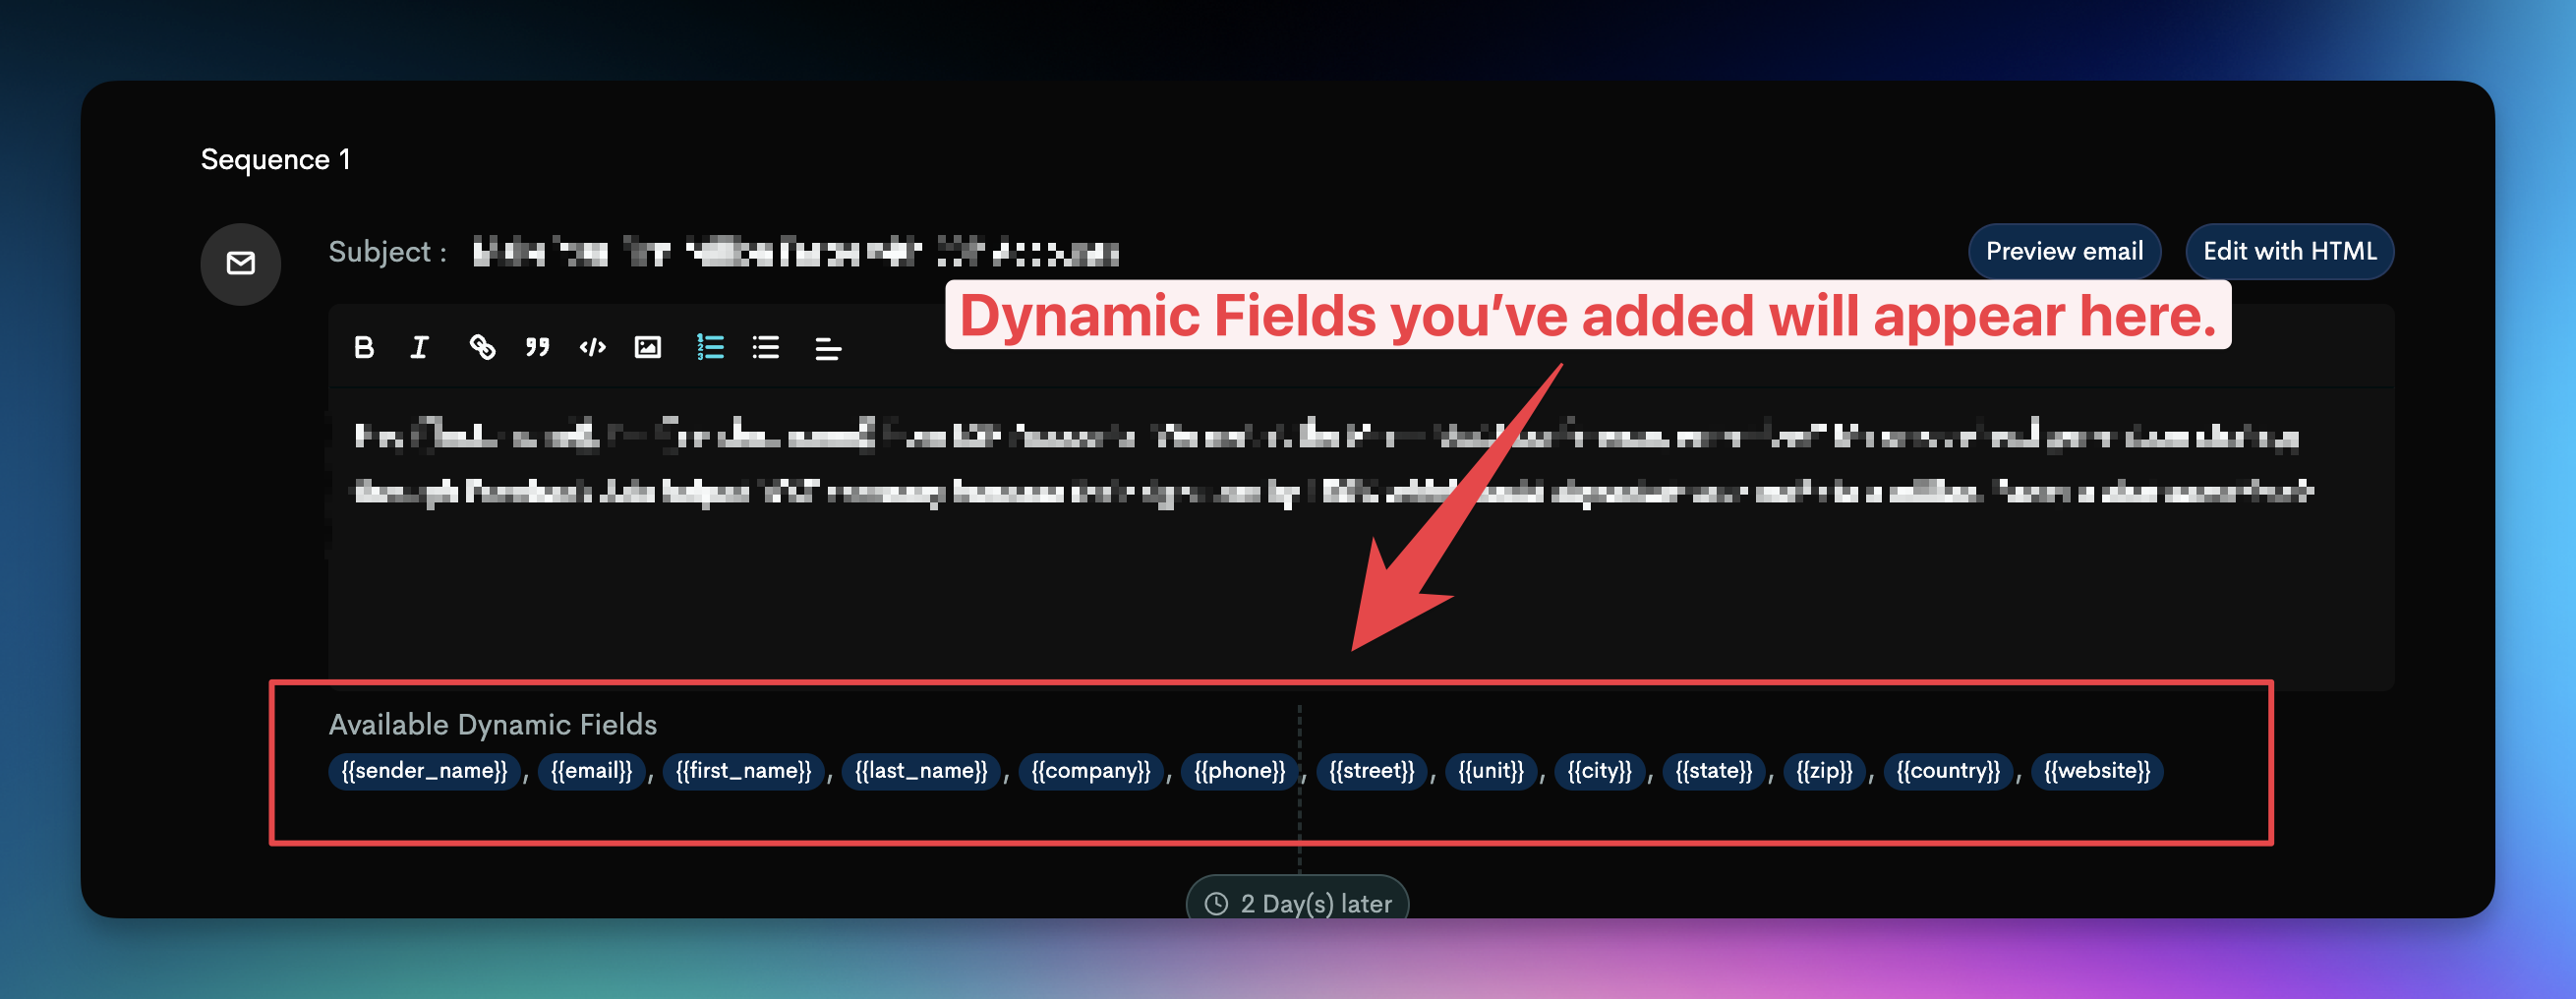
Assign variables (dynamic fields)
If you need more fields, add as many custom fields as you need.
Draft Emails: Use Mails.ai's AI Writer to create a multi-step email sequence.
Plan Schedule: Schedule emails according to the work hours of your target audience.
Fine-Tune Campaign: Utilize sender rotation, open tracking, and customizable daily sending limits.
Getting Started with Mails.ai - Complete Guide
Our complete guide to help you start strong from day 1 with Mails.ai.
How to maximize your Deliverability, Opens, and Replies? (Checklist)
Follow this guide to optimize your cold email deliverability, open rates, and replies.