Before initiating your email campaigns via Mails.ai, ensuring the verification and validity of your leads is critical. Sender reputation, an integral aspect of successful outreach, could be jeopardized by high bounce rates. This often stems from hard bounces, which occur when emails are sent to non-existent addresses. It's essential to cleanse such addresses from your list to maintain a healthy sender reputation and enhance email deliverability.
Good news! Mails.ai simplifies this task for you with its built-in email verification feature. Here's how you can take advantage of it.
Navigate to the 'Campaigns' page and click on "+ New Campaign". Proceed by uploading your CSV lead list to this new campaign.
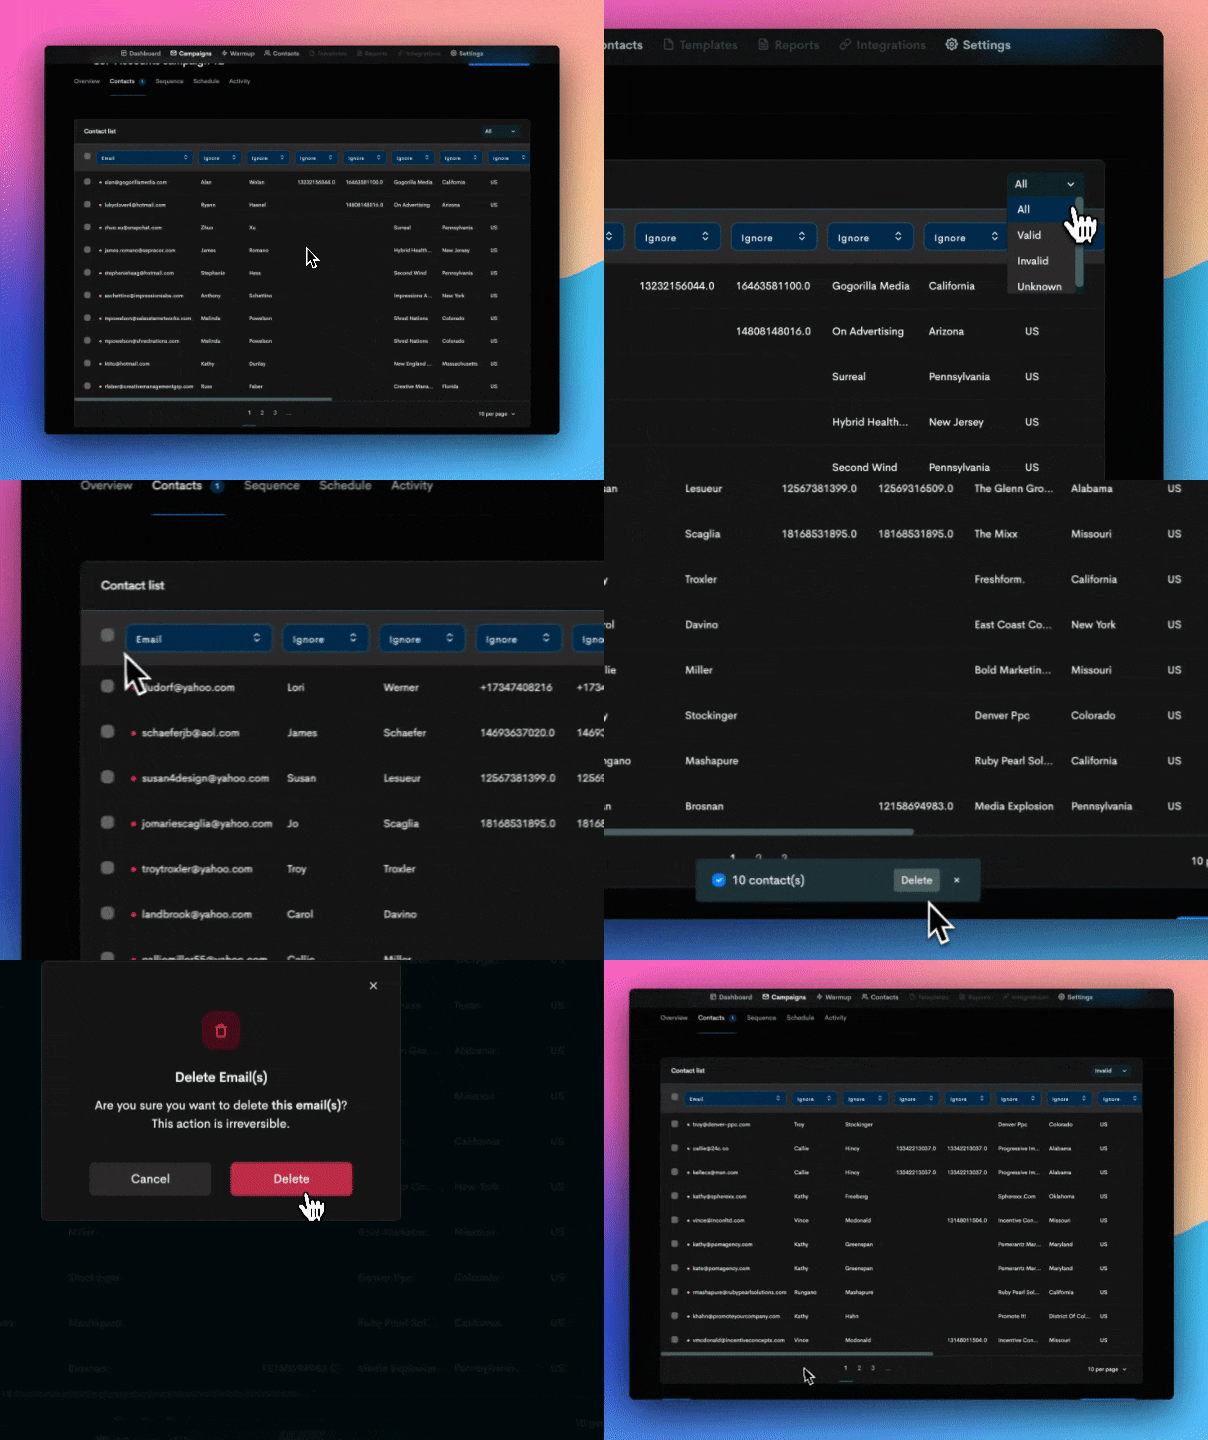
Select 'Verify Emails' for processing the emails you've uploaded.
Post verification, Mails.ai segregates the email addresses into 3 categories: 🟢 Valid, 🔴 Invalid, or 🟡 Unknown. Filter out the 'Invalid' emails from your list and delete them in bulk (repeat as needed). This helps maintain a lower bounce rate for your campaign.

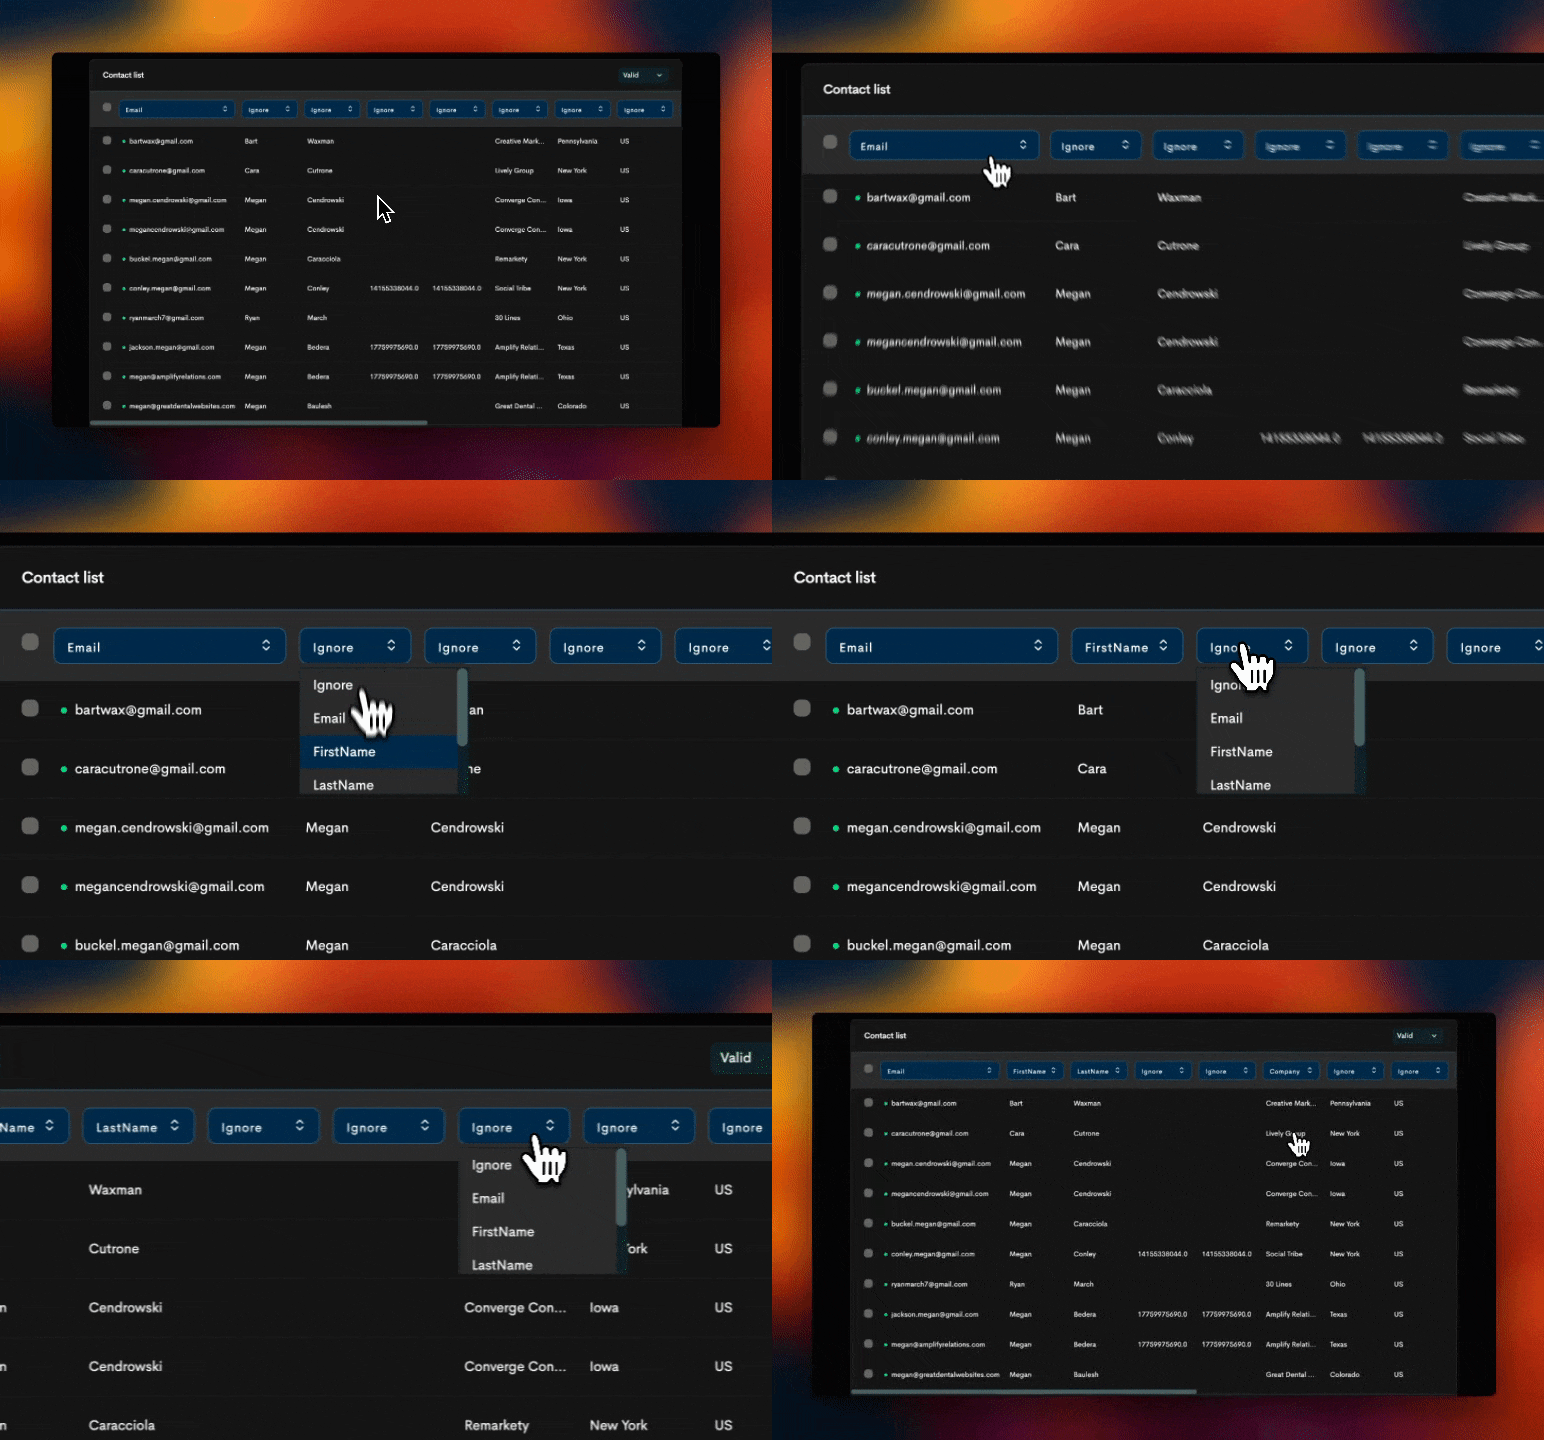
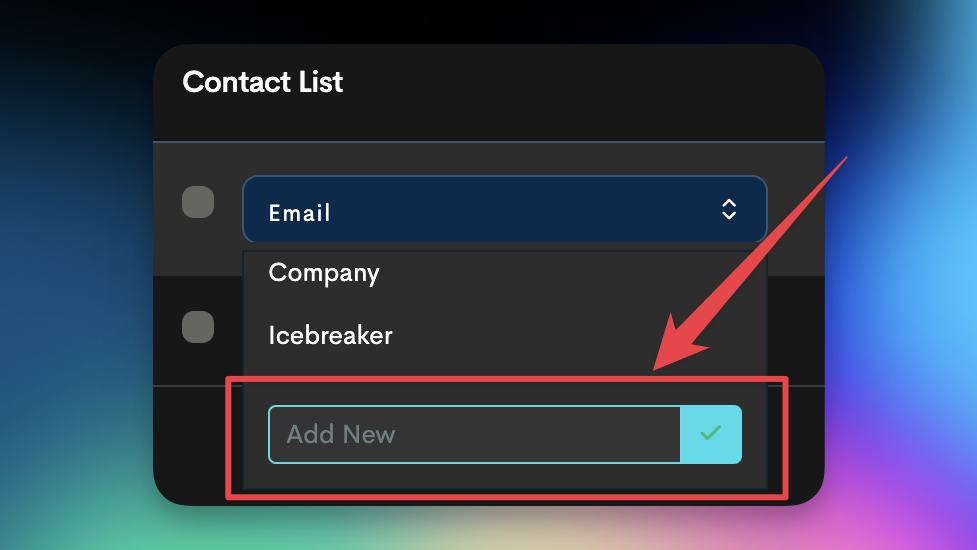
Select which dynamic fields to link to the columns for parameters such as 'Name', 'Email', 'Icebreaker', 'Company', etc. Add as many custom fields as you need.


Mails.ai's included email verification feature simplifies the task of maintaining a clean and reliable email list. It aids in enhancing sender reputation and boosting deliverability rates for your campaigns, thereby giving your outreach efforts an effective edge.
Setting Up Campaigns in Mails.ai
Setting up an effective email campaign using Mails.ai.