Before launching your campaigns on Mails.ai, you’d want to ensure that all your leads are verified and Valid. A high bounce rate could tarnish your sender reputation, largely due to emails being hard bounced and permanently undelivered if they’re sent to non-existent addresses. To avoid compromising your sender reputation due to poor email deliverability, it’s essential to remove these addresses from your list.
Fortunately, Mails.ai comes with a built-in email verifier to streamline this process for you. Here’s how to use it:
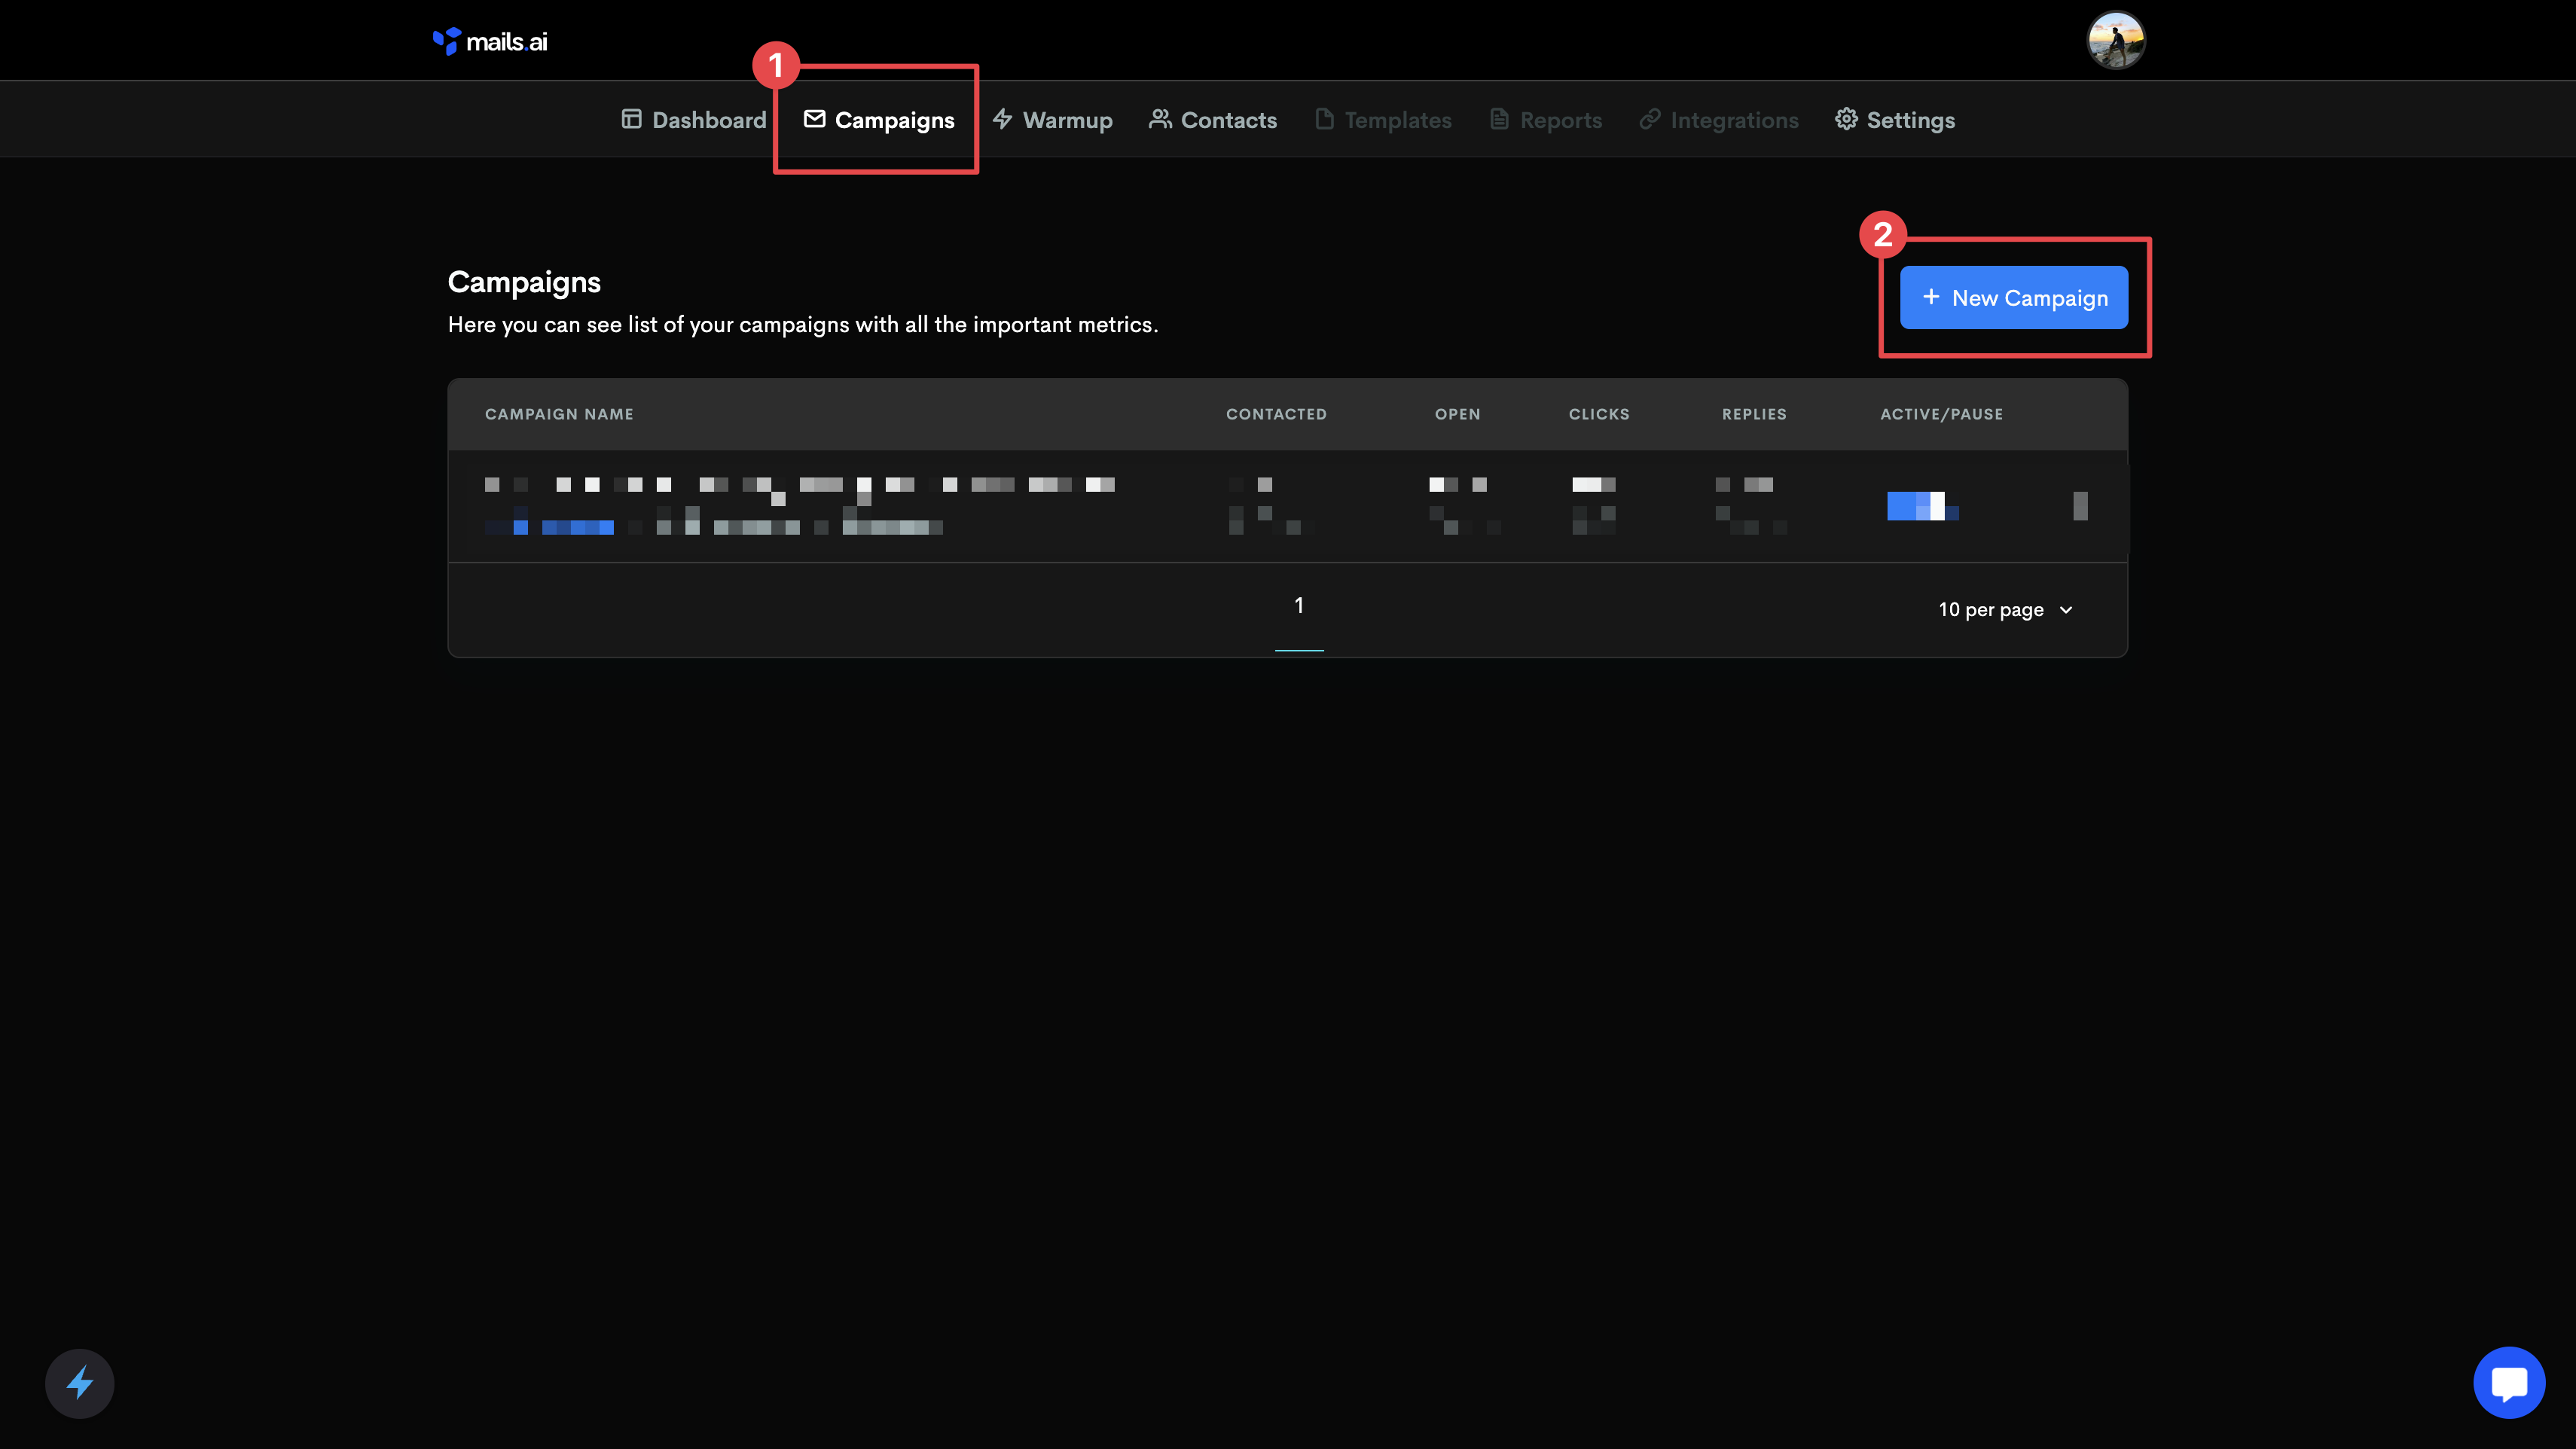
app.mails.ai >> Campaigns >> 'New Campaign'
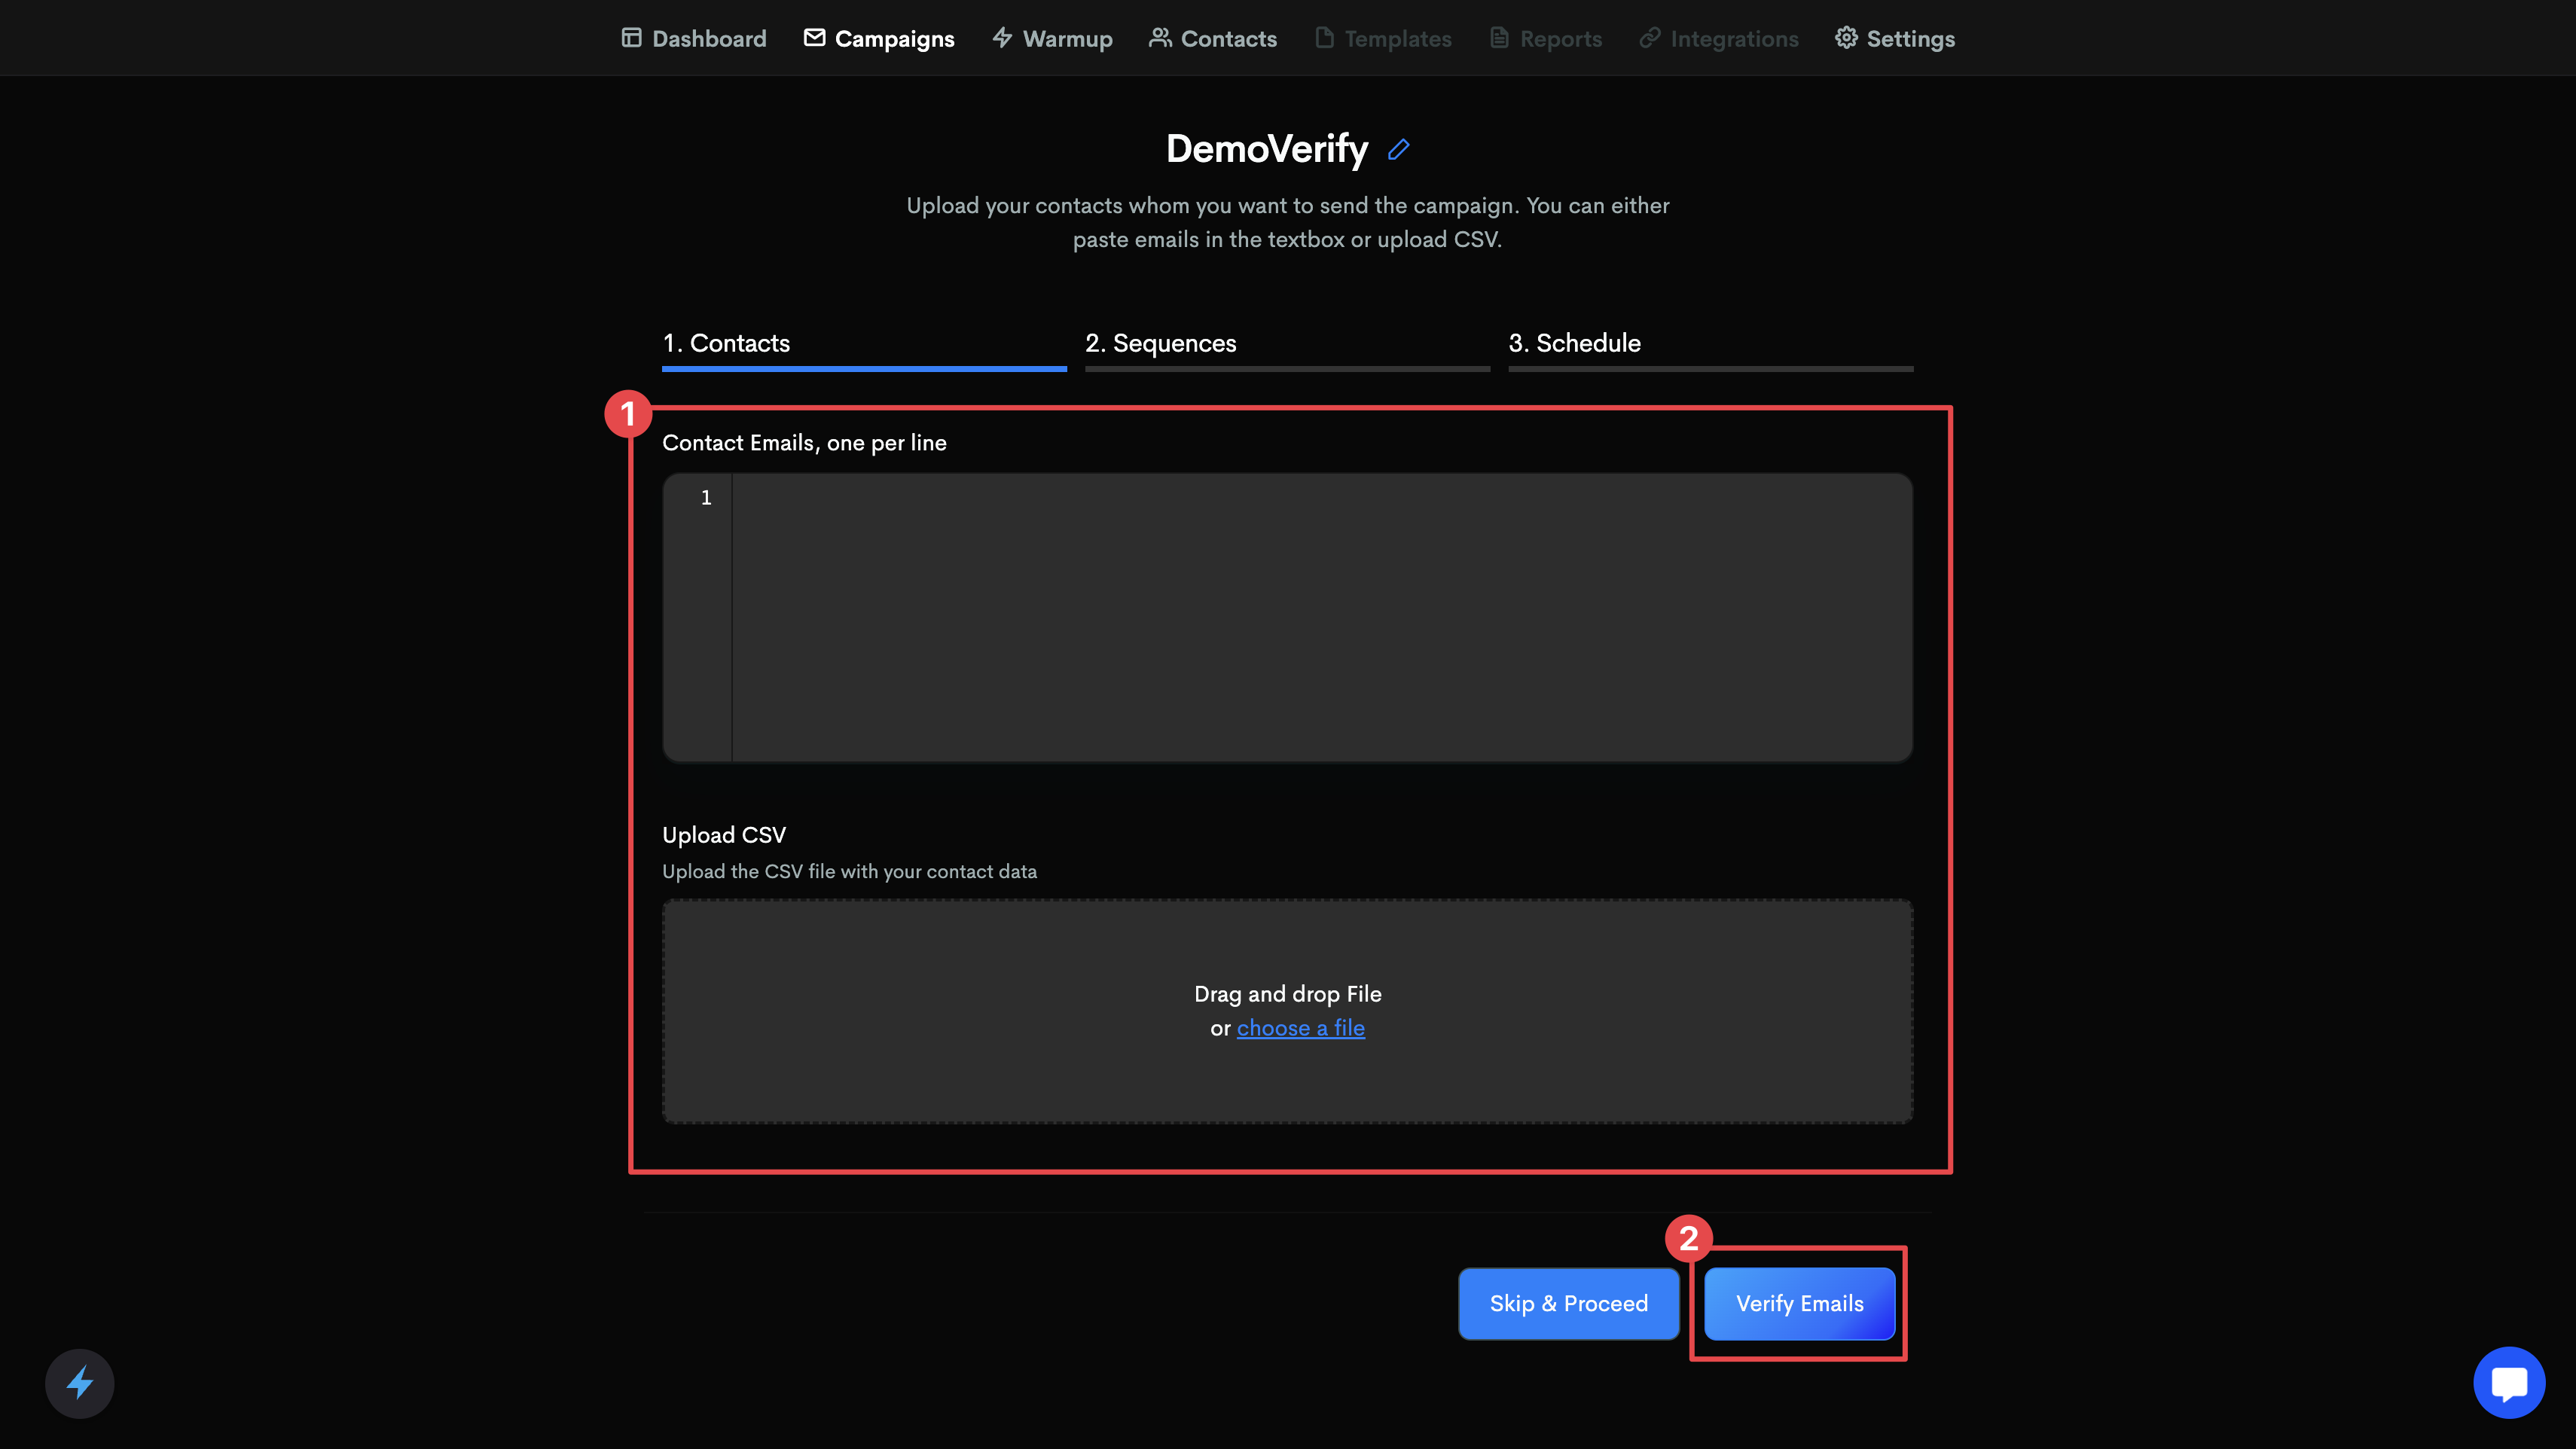
Upload your lead list either manually or in CSV format
Select 'Verify Emails' to verify the emails uploaded
In a few minutes, (depending on how large the lead list is) the system will have checked all the email addresses for validity.
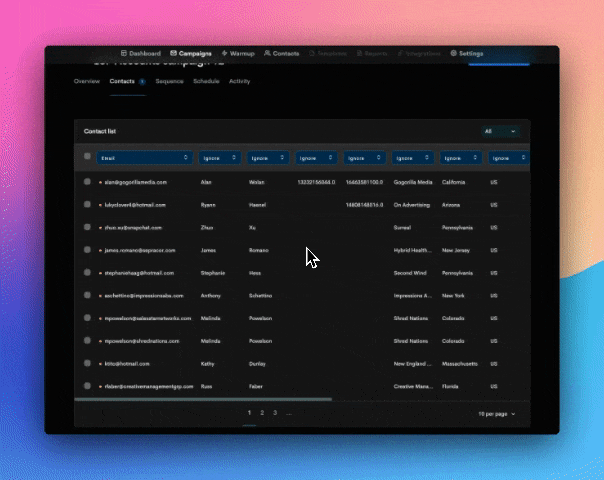
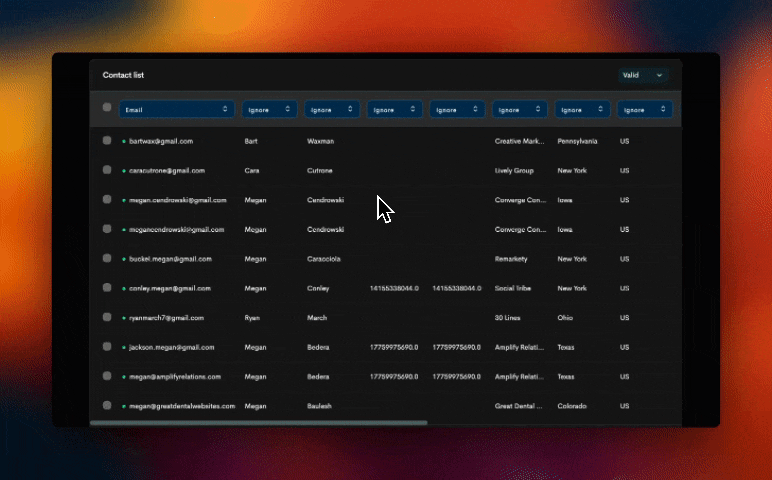
Once the verification is complete, you can view the status of each email address in your list. Mails.ai will label the emails as either ‘Valid’, ‘Invalid’, or 'Unknown'.
You can then filter and bulk delete the ‘Invalid’ emails from your list to ensure a lower bounce rate for your campaign. [repeat as needed]
With Mails.ai built-in email verification, we make it easy to maintain a clean and reliable email list, ensuring a better sender reputation and higher deliverability rates for your campaigns.
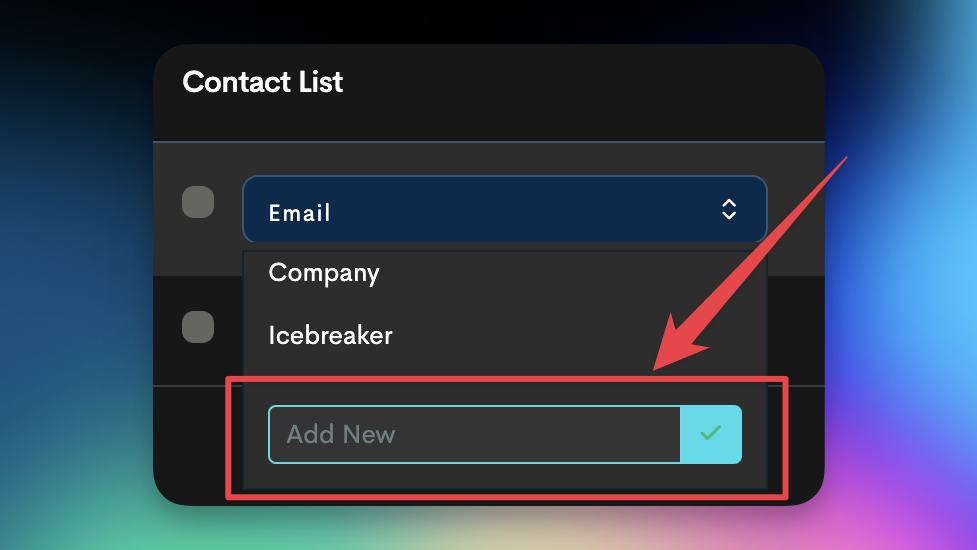
Mails.ai will inherently identify the email column in your file and assign a variable.
Ensure to review all the details thoroughly. The drop-down menu can be utilized to correctly assign the appropriate variable for each of your values you would like to use.
If you need more fields, add as many custom fields as you need.
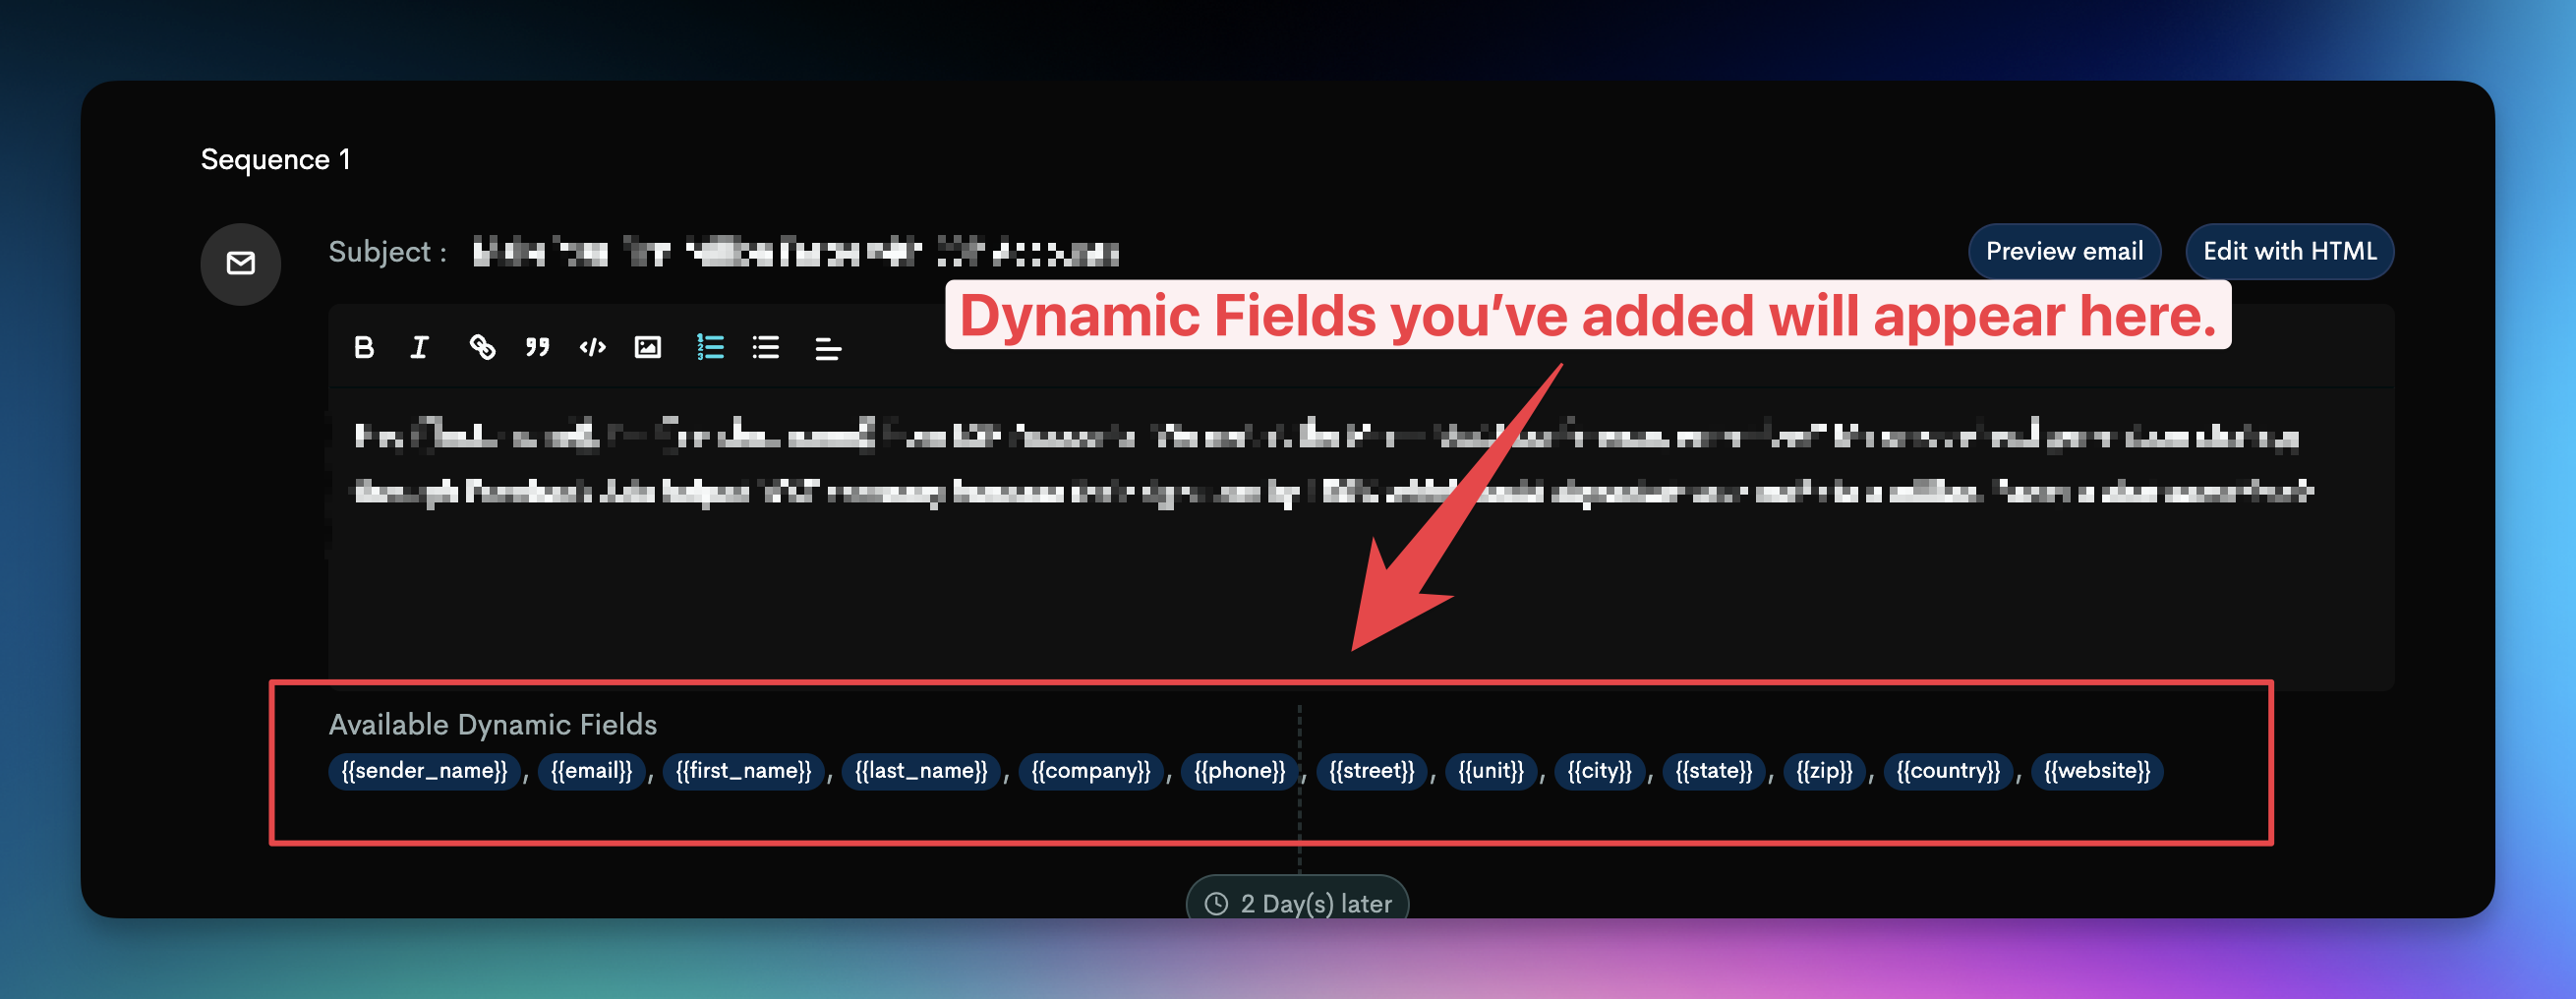
All the dynamic fields you've included will appear in the sequence editor. Simply click to copy and paste them into your sequences.
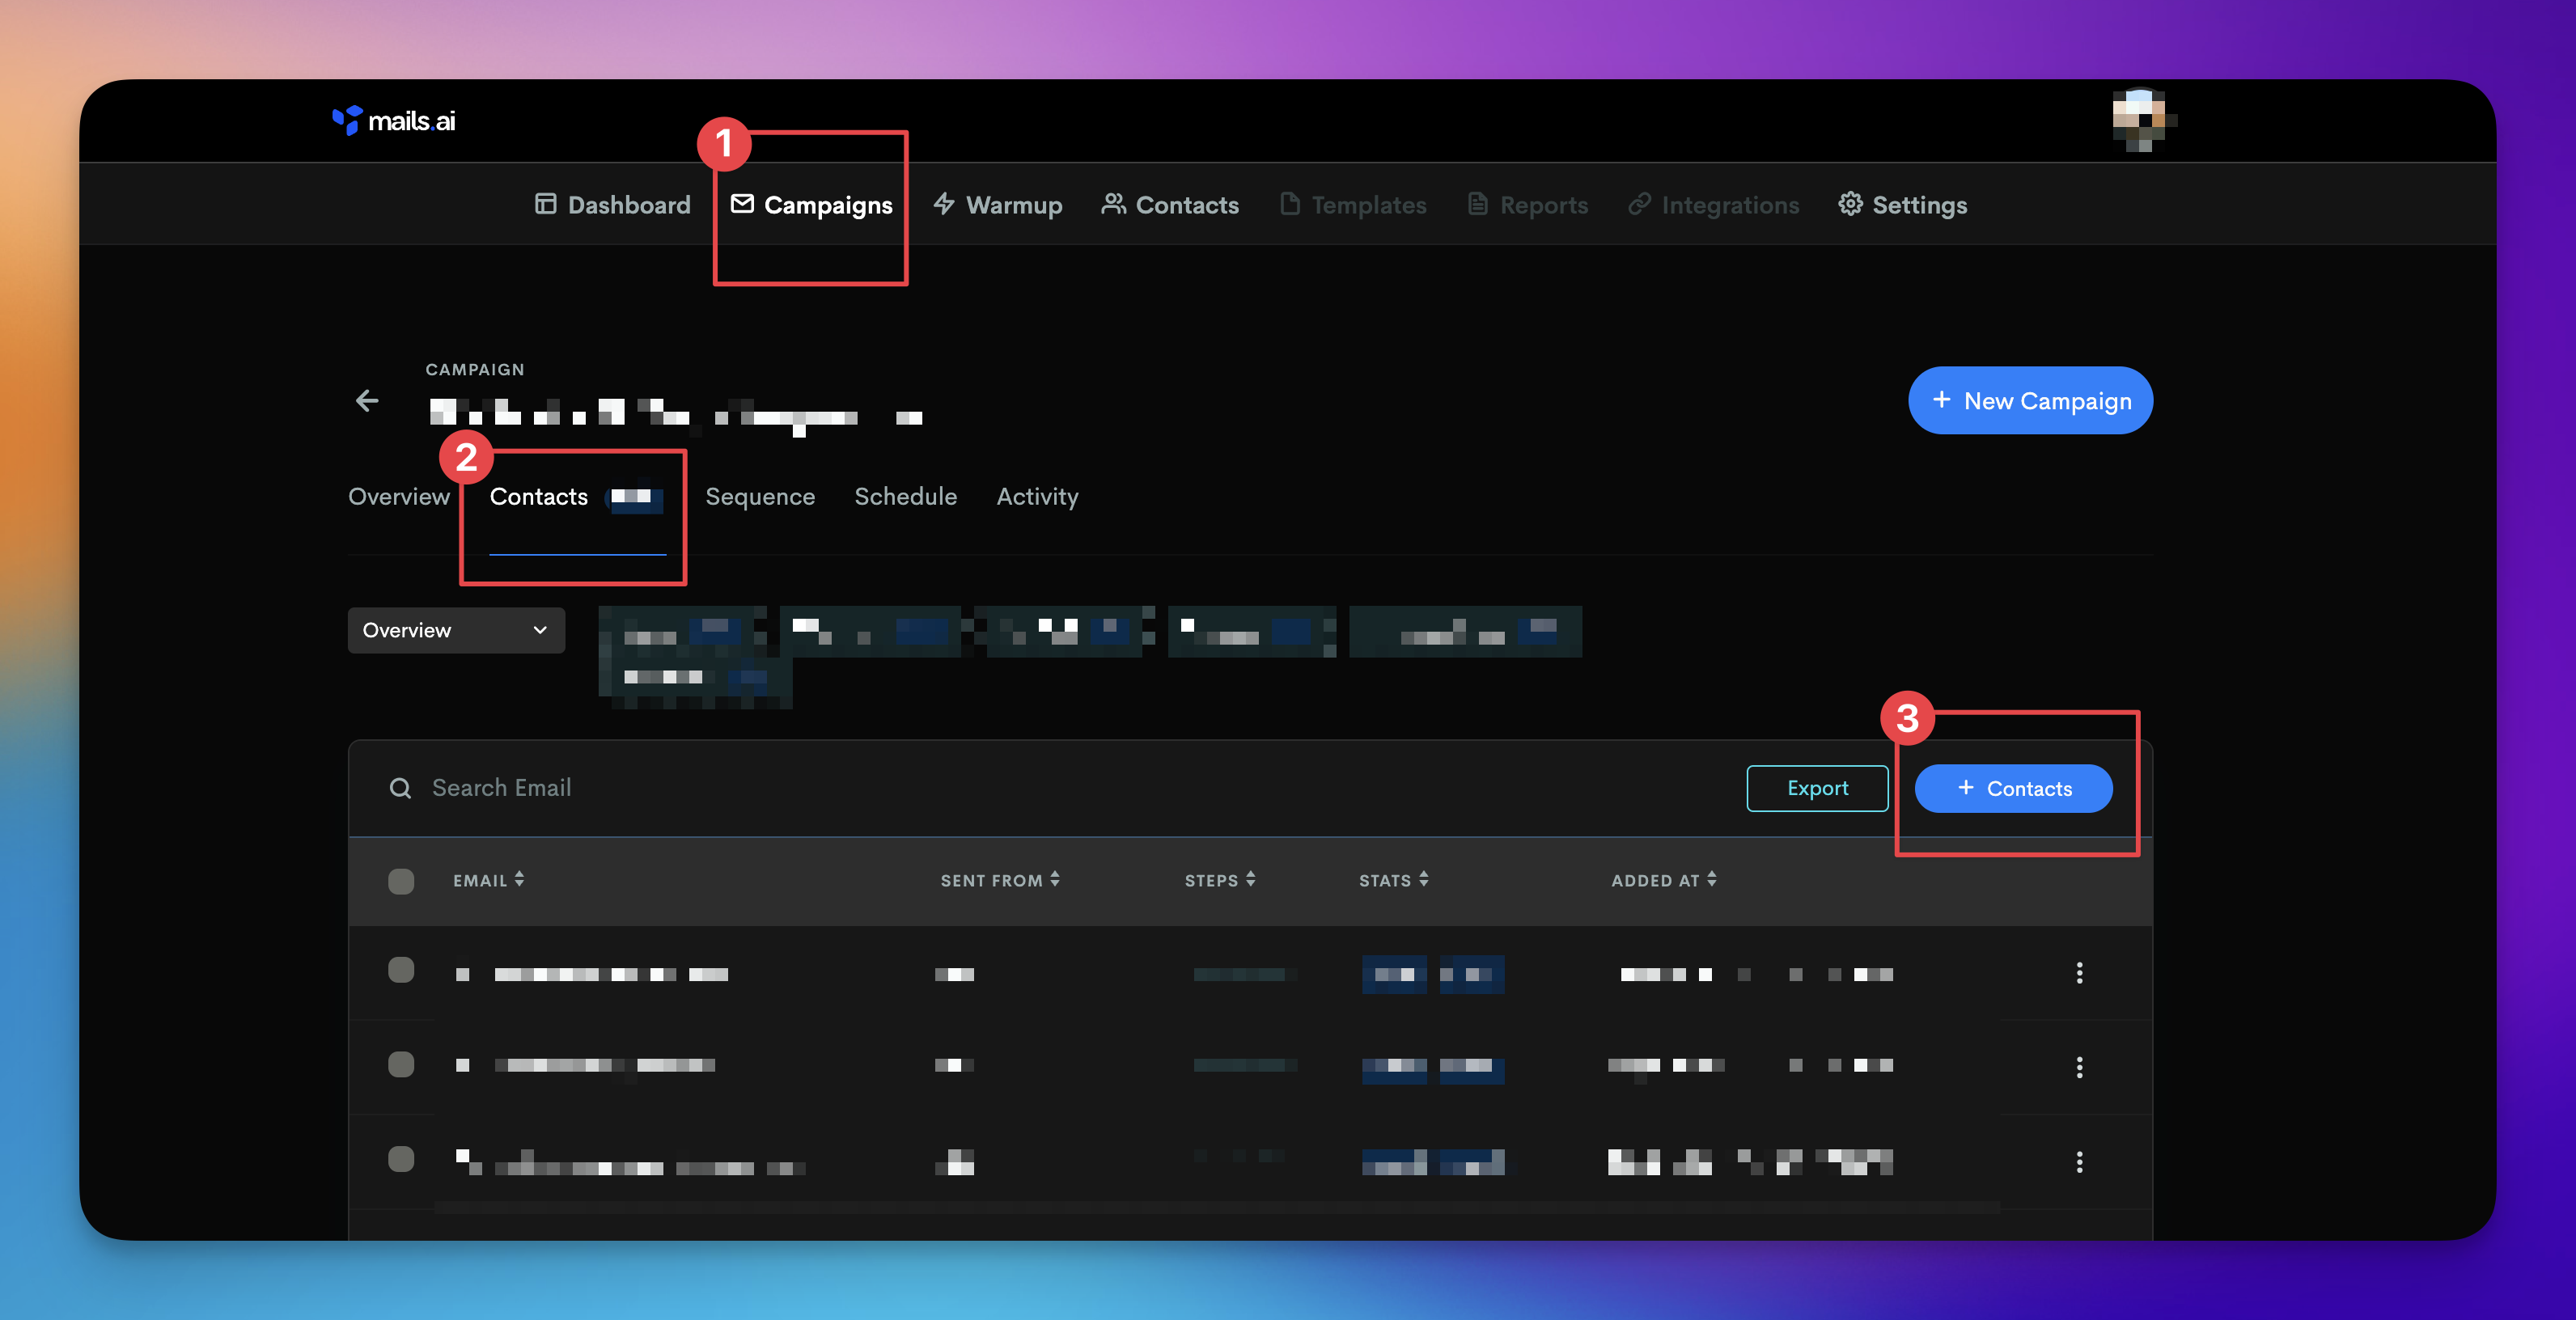
Navigate to 'Campaigns' page to see all your campaigns
Find the campaign you want to add contacts to and click on it.
Click on the ‘Contacts’ tab at the top.
Now, click the ‘+ Contacts’ button to add more contacts to this campaign.
Q: I uploaded a list with duplicate emails. Will your system take care of that?
A: Absolutely! Our system spots identical emails and just updates the current record, ensuring no duplicates.