
You do not have to set anything up before your first send. Create a key, name an agent in the from field, and the agent is created on first use.
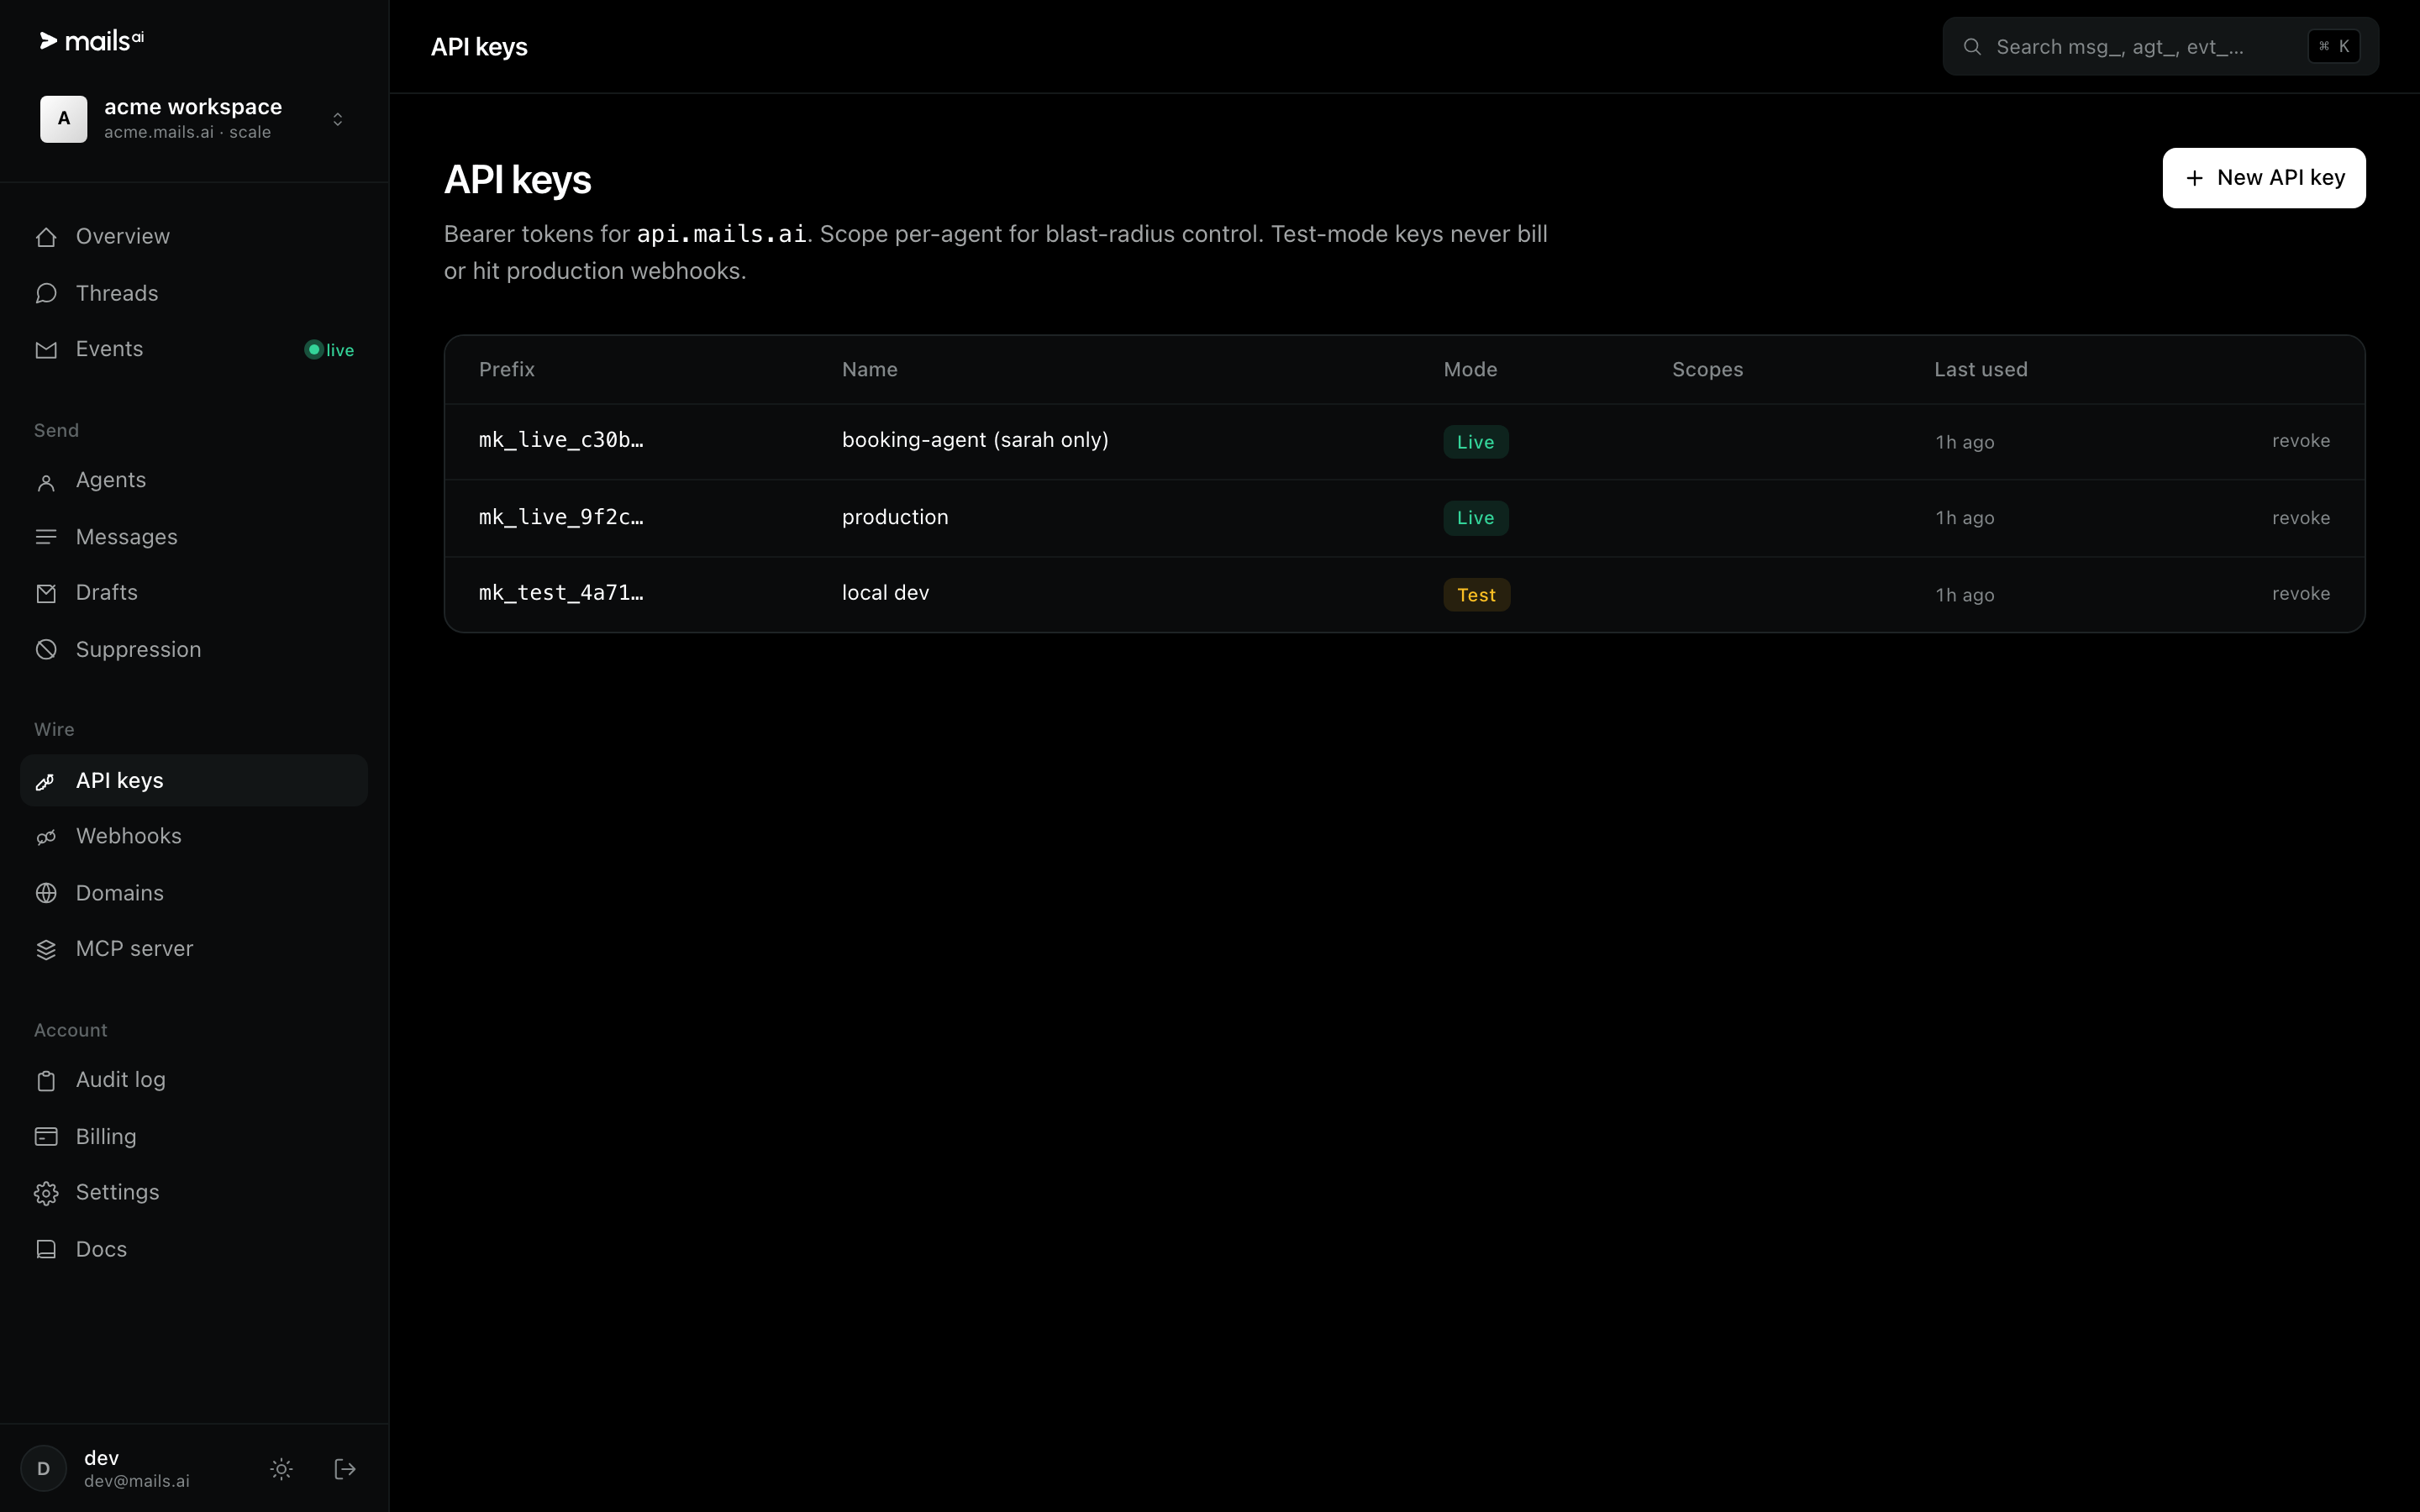
1. Make a key
Open API keys in the dashboard and press New API key. A live key starts mk_live_; a test key starts mk_test_. The full key is shown once — copy it then.
2. Send
curl -X POST https://api.mails.ai/v1/messages \
  -H "Authorization: Bearer mk_live_..." \
  -H "Idempotency-Key: $(uuidgen)" \
  -H "Content-Type: application/json" \
  -d '{
    "from": "sarah",
    "to": "[email protected]",
    "subject": "Demo confirmation",
    "body_text": "Confirmed for Tuesday at 2pm ET."
  }'
You get 201 and the whole message object back. Read from on the response for the address it actually sent as — sarah@<your-workspace>.mails.ai.
Or use an SDK
// npm install @mailsai/sdk    (ESM — use import, not require)
import { createClient } from "@mailsai/sdk";

const mails = createClient();            // reads MAILS_API_KEY

const sent = await mails.send({
  from: "sarah",
  to: "[email protected]",
  subject: "Demo confirmation",
  body: "Confirmed for Tuesday at 2pm ET.",
});
console.log(sent.from);                  // sarah@<your-workspace>.mails.ai
There is a Python SDK too — pip install mailsai — and an MCP server, npx -y @mailsai/mcp-server, if you would rather drive it from Claude or Cursor.